
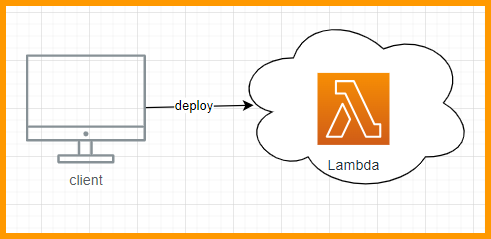
How to deploy an AWS Lambda serverless function using AWS CloudFormation
In this tiny tutorial I will show you how to deploy an AWS Lambda serverless function on AWS using AWS CloudFormation.
Specifically:
- We will create
lambda_handler.pylocally and upload it to to some s3 bucket we own - Deploy a CloudFormation stack that creates a new Lambda as a resource
Setup
First, in this tutorial I assume that you have an active AWS account on which you have the rights to provision infrastructure.
Second, you should be able to connect to the AWS SDK through the CLI with valid credentials. If you don’t have these yet, follow the instructions here
This is what your ~/.aws/config should look like.
[profile sandbox]
sso_role_name = Admin
sso_account_id = 1234
sso_start_url = https://xxx.awsapps.com/start
sso_region = eu-west-1
[profile Admin-1234]
sso_start_url = https://xxx.awsapps.com/start#/
sso_region = eu-west-1
sso_account_id = 1234
sso_role_name = Admin
region = eu-west-1
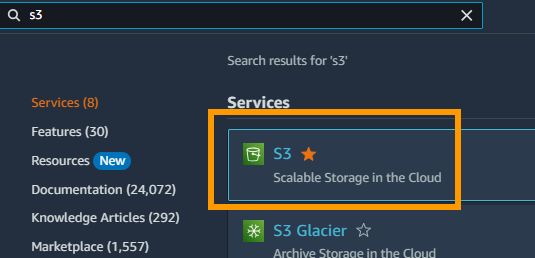
Step 1: Create the s3 bucket
First thing we should do is create a new s3 bucket
Ideally, this is also handled and deployed automatically, but for now do it manually.
I call mine tmp-jan-bucket.

Step 2: Upload the lambda
Find the code here.
This is the Lambda that we will host as a serverless function. It does nothing except for return the event as a json.
import json

def lambda_handler(event, context):
    response = {
        "statusCode": 200,
        "body": json.dumps(event)
    }
    return response
AWS wants a .zip, so let’s zip the python file using the provided script.
python zip.py
Which creates lambda_handler.zip. This file we can now upload
aws s3 cp lambda_handler.zip s3://tmp-jan-bucket/tmp-jan-s3-key/lambda.zip --profile Admin-1234
Note that we must pass on the --profile flag.
If you did everything correctly now s3 should show you the uploaded file in the bucket key combination s3://tmp-jan-bucket/tmp-jan-s3-key

The lambda is now uploaded and we can deploy it using our CloudFormation template.
Step 3: Deploying the CloudFormation template
Now take the template in templates/deploy-lambda.yaml
AWSTemplateFormatVersion: '2010-09-09'
Description: 'Example Lambda'

# Code taken from here: https://github.com/aws-quickstart/quickstart-examples/blob/main/patterns/LambdaZips/example.yaml

Parameters:
  StartBucketName:
    AllowedPattern: ^[0-9a-zA-Z]+([0-9a-zA-Z-]*[0-9a-zA-Z])*$
    Default: tmp-jan-bucket
    Type: String
  S3KeyPrefix:
    AllowedPattern: ^[0-9a-zA-Z-/]*$
    Default: tmp-jan-s3-key/
    Type: String

Resources:
  MyFunctionRole:
    Type: AWS::IAM::Role
    Properties:
      AssumeRolePolicyDocument:
        Version: '2012-10-17'
        Statement:
          - Effect: Allow
            Principal:
              Service: lambda.amazonaws.com
            Action: sts:AssumeRole
      ManagedPolicyArns:
        - arn:aws:iam::aws:policy/service-role/AWSLambdaBasicExecutionRole
  MyFunction:
    Type: AWS::Lambda::Function
    Properties:
      Description: Example
      Handler: lambda_handler.lambda_handler # filename.functionname
      Runtime: python3.7
      Role: !GetAtt 'MyFunctionRole.Arn'
      Timeout: 300
      Code:
        S3Bucket: !Sub '${StartBucketName}'
        S3Key: !Sub '${S3KeyPrefix}lambda.zip'
And let’s deploy it as a cloud stack using aws cloudformation deploy
λ aws cloudformation deploy --template-file templates/deploy-lambda.yaml --stack-name tmp-jan-stack --capabilities CAPABILITY_NAMED_IAM --profile Admin-1234
Note that, we must use --capabilities CAPABILITY_NAMED_IAM because we provide named IAM resources. See also this link
Deploying might takes 1-2 minutes, but if everything goes as planned you should see this.
Waiting for changeset to be created..
Waiting for stack create/update to complete
Successfully created/updated stack - tmp-jan-stack
And now if you look in CloudFormation you should see this

We have successfully deployed!
Step 4: Testing
The stack is deployed and when we look at our Lambdas we see a new one, the one that the stack created.

Lets create a new test event

And test it

We see that we get back the response that we expect.
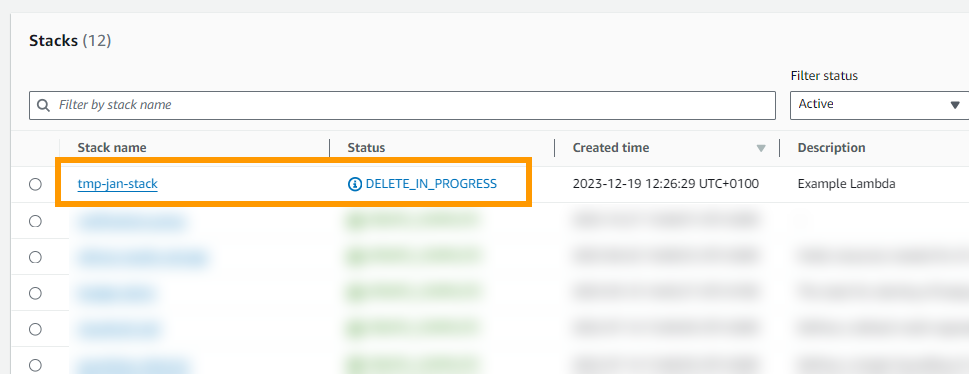
Step 5: Cleanup
Of course, when you provision infrastructure on the cloud you always want to gracefully shut down what you start to avoid unnecessary costs.
Let’s not forget to actually stop our cloud stack.
λ aws cloudformation delete-stack --stack-name tmp-jan-stack --profile Admin-1234
After initiating the delete you should see a deletion in progress.
After which the stack is gone. Also check your Lambdas to make sure that they got deleted successfully.
Wrapping up
In this tiny tutorial I showed you how to deploy a serverless AWS Lambda using AWS CloudFormation. Deploying infrastructure through infrastructure-as-code solutions like CloudFormation (and Terraform etc) is very important if you want to build large and complex systems that scale.
I hope you had as much fun as I had making this, and see you next time!
- Jan


Comments